My Jekyll Workflow
TL;DR Any text editor + some GitHub branches tied together with GitHub Actions
In the previous post, I described how to set up a local development environment for your Jekyll-powered site using Docker, including live reload. The jekyll serve command is really helpful here because it lets us easily spin up a local web server to test our site - but this isn’t meant for production. To do it properly, we need to use a fully featured web server. However, I wanted to do more than just that - I wanted an end to end development & deployment pipeline:
| • A fully portable development environment (using Docker) | ✅ |
| • Hassle-free setup for the live site on a VPS/cloud server | ✅ |
| • Automated linting | ✅ |
| • Automated spellcheck | ✅ |
| • Automated site build & deploy to live web server | ✅ |
Workflow
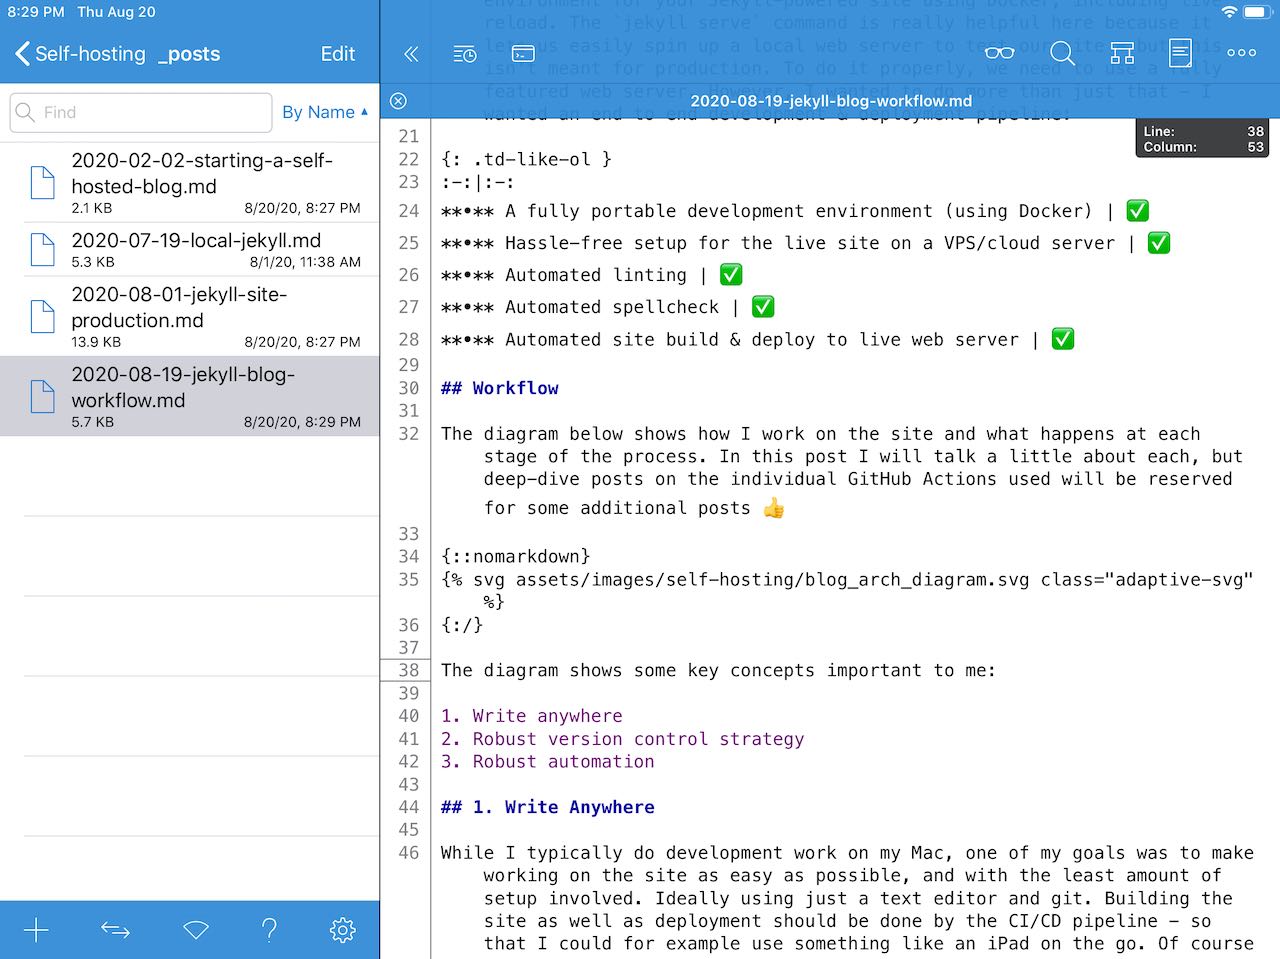
The diagram below shows how I work on the site and what happens at each stage of the process. In this post I will talk a little about each, but deep-dive posts on the individual GitHub Actions used will be reserved for some additional posts 👍
The diagram shows some key concepts important to me:
- Write anywhere
- Robust version control strategy
- Robust automation
1. Write Anywhere
While I typically do development work on my Mac, one of my goals was to make working on the site as easy as possible, and with the least amount of setup involved. Ideally using just a text editor and git. Building the site as well as deployment should be done by the CI/CD pipeline - so that I could for example use something like an iPad on the go. Of course a Ruby or Docker environment is needed for previewing the site locally, but for simply writing content I wanted to be able to use a tablet or phone on the go as well.
On my iPad, I use the following apps to develop the site on the go:
- Textastic - I like this text editor as it features syntax highlighting and easy integration with Working Copy as well as Files.app
- Working Copy - Definitively not cheap, but a really good git client for iOS
- Terminus - Great SSH client for iOS & Android. The free version suits my basic SSH needs quite well
On my Mac, my go-to editor of choice is VS Code. Here are some handy extensions that made working on the site easier for me:
- GitLens - Adds a host of extra git features, such as per-line
git blamein the file you’re currently editing - markdownlint - Integrates MarkdownLint right into the editor, highlighting violations as you edit
- Draw.io Integration - Lets you edit draw.io files right in VS Code
- Docker - Adds a slew of Docker integrations for editing Dockerfiles and managing containers
2. GitHub Workflow
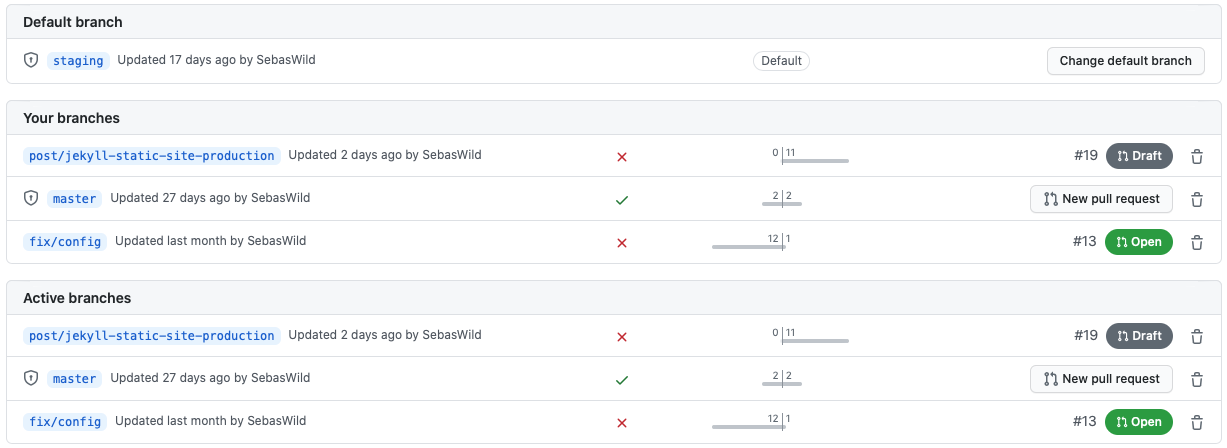
A robust branching strategy is always a good thing in any repository. There’s tons of different approaches out there, but in general you want a strategy that allows you to work on features, bugfixes, and other things in isolation and without tripping over all the changes you are making in parallel. This means for example not pushing to master for everything but using feature branches. The strategy I’m following for the blog goes as follows:
master branch
master is always the current live version of the site. This way if there hotfixes that need to be made, I can branch off of master, fix the issue and open a pull request back into master. GitHub Action build & deploy the site on push to this branch.
staging branch
staging contains all the changes meant to go live in the next deploy. While I’m not using tags or versioning right now, staging serves as the branch to contain all the changes that I want to deploy to the site in one go.
feature branches
Drafts for new posts, site features, and really anything else besides hotfixes are made in their own feature branches, typically created off of staging. It’s good practice to have your feature branches be about one change, and one change only. Overcome the urge to work on multiple things in one feature branch. This might complicate the pull request once you’re done and make code review more difficult. This is not super applicable here as I am working on the site by myself, but is important when you are working in a team.
3. GitHub Actions
In August 2019, GitHub Actions gained CI/CD ability. What’s very cool about this is that if you want CI/CD for your project you no longer have to use a third party service. No more authorizing that third party to access your repositories - everything can now be done right within GitHub itself. This project was my first exposure to GitHub Actions and setting up some workflows.
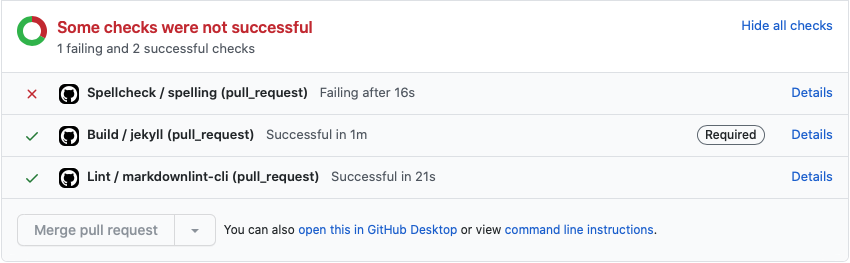
For me, I wanted three main checks:
- Check if the site builds with
jekyll build - Check for linter violations using MarkdownLint
- Check for spelling errors
These checks (with the exception of the deploy action), will happen on every pull request.
I also wanted the site to be deployed to production on push to master. All of the above checks as well as the deploy are implemented with individual workflows, and I will go into each in the posts to follow 👍